Grab these resources for this guide
Shipping Software Reviews
Read Reviews by Shippers Like You
Written on:
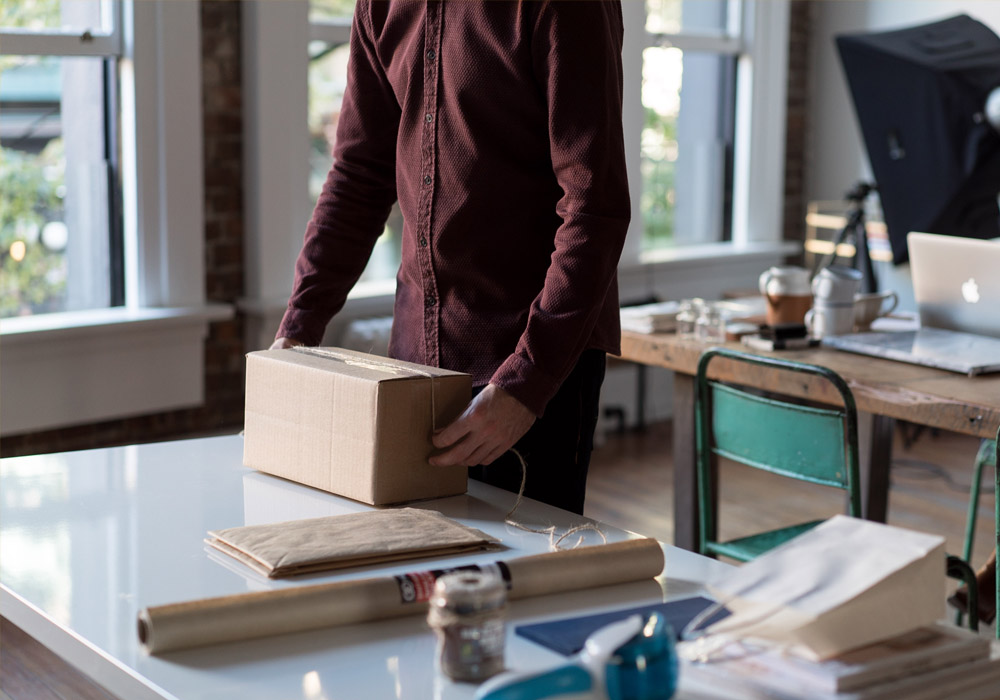
So, you’re ready to ship your package—awesome! First, you need to make sure you’re preparing your package correctly. Properly preparing your package will save you time and money in the long run. Not quite sure how to do that? Don’t fret. The ancient Chinese philosopher Lao Tzu famously said, “The journey of a thousand miles begins with a single step.” Lucky for you, this journey only has six steps, and we’ve outlined them all below.
Table of Contents: Preparing Your Package for Shipment
- Step 1: Box It
- Step 2: Protect It
- Step 3: Seal It
- Step 4: Postage It
- Step 5: Label It
- Step 6: Ship It
Step 1: Box It
The first step to preparing your package for shipment is choosing what type of package you need. Don’t know what kind of package to choose? Here are a few different options to help you figure it out:
- Square or rectangular boxes: These boxes are great for shipping heavier goods, uniquely shaped items, books, CD’s/DVD’s, and fragile items.
- Tubes: Tubes are perfect for lightweight goods like posters, prints, or other flexible items like t-shirts or socks.
- Specialty or hard boxes: Use these packages for shipping delicate or electronic items, like cell phones or laptops.
- Mailers: Think of these like large envelopes. Mailers are ideal for shipping smaller fragile items and documents, and can either come padded or unpadded on the inside.
Pro Tip: If you’re running an E-commerce business, give your customers an unforgettable unboxing experience with custom packaging!
Step 2: Protect It
Protect your contents with packing material! Packing material fills out the space inside your package, protecting your item and keeping it secure. Your contents need to be protected from pressure outside the box, and also from moving around too much inside the box during transit. There are several different options to help with that, and we’ve listed them here:
- Packing peanuts: These little guys are great for both internal packing material and void fill. Please…don’t confuse these with the peanuts you get on airplanes.
- Bubble wrap: Remember popping these when you were a kid? Bubble wrap is perfect for wrapping individual delicate items like glass.
- Packing paper: This is a rigid paper that comes in sheets, typically used for void fill.
- Crinkle paper: These are tiny strands of paper ideal for keeping delicate items cushioned inside your package, all while adding a touch of flair.
- Air pillows: These are great for filling out bigger empty spaces inside your package and for cushioning delicate items.
- Foam: Foam is ideal for insulating specific items like laptops, electronics, and artwork.
- Molded package inserts: Mold inserts hold firmly in place and are among the most costly form of packing material. They are required when shipping alcohol and are also used when shipping electronics, glass, home goods, and other delicate consumer products.
Step 3: Seal It
Ready to seal the deal? Once you’ve securely packed your contents, you’ll need to tape your package shut along all its open areas. Using 2-inch wide packing tape, seal the openings of your box along its entire length. As a general rule of thumb, always use clear or Kraft packing tape. Do not—we repeat, DO NOT—use cord, string, scotch tape, masking tape, or cellophane tape!
Step 4: Postage It
Okay, so “Postage it” doesn’t exactly fall into the category of “proper English,” but you get the picture. You’ll need postage to ship your package, plain and simple. Postage prices depend on a number of factors, such as the size of your package, its weight, its destination, and its contents. Learn about choosing the right USPS mail class.
Generally speaking, USPS offers the best prices for shipping small, lightweight packages (under 20 pounds). UPS typically offers better rates for shipping larger, heavier packages, and FedEx’s core competency is overnight shipping.
Step 5: Label It
Labeling your package correctly is the best way to ensure your package arrives at its destination without any issues. Here’s what to do:
- If you printed a postage label, affix it to a clean, flat, and smooth surface on your package. Make sure that nothing is in the way of the shipping barcode or the details on your label.
- Do NOT place the label over any seams or curvatures on your package.
- If you’re writing out the address information, always write in plain print and use a pen or permanent marker. Make sure your handwriting is clearly legible from an arm’s length away. Don’t forget to distinguish those 4’s and 9’s!
- If you’re shipping hazardous or fragile items, check labeling standards with your carrier to ensure your package meets all shipping guidelines. Checking in with your carrier also informs them how your package needs to be handled.
- Always have a backup plan! We highly suggest including a second set of shipping details inside your box in case your shipment is damaged.
Pro Tip: Ship like a pro and print your own labels with a direct thermal label printer (see our thermal printer recommendation). Printed labels make your product appear more professional, and it’s easier than you think. Switching to a direct thermal label printer can also save you anywhere from 5 to 50 cents per shipment due to the high cost of paper and ink. That adds up fast!
Step 6: Ship It
Congratulations—you’re ready to ship! You can take your package directly to a mail station, or you can schedule a pickup with your carrier. If you’re shipping USPS and your package weighs less than 13 ounces, feel free to drop it directly into one of those blue collection boxes you see around town. If your package weighs more than 13 ounces, you’ll need to drop it off at a postage counter with a USPS employee.
Pro Tip: If you’re shipping small packages under 20 pounds using USPS, you should always ship in a mail class called Priority Mail Cubic. Priority Mail Cubic isn’t something the USPS offers to the public, but it’s hands down the cheapest way to send small packages up to 20 pounds (like a subscription box). Fortunately enough, there are different shipping software options out there that let you access Priority Mail Cubic rates! To see which option is right for you, check out our guide: Choosing the Best Shipping Software.
Last Updated:


Be the first to comment!